Screen Space Reflections (SSR) Post Process
Introduction
Rendering reflections in real-time can be done using several methods. Each method contains its own pros and cons. For Web technologies, 2 main methods exist:
- Using a Mirror Texture:
- pros: renders perfect reflections on a plane.
- cons: limited to one reflection direction and complexity grows according to the scene's geometries.
- Using a SSR post-process:
- pros: renders all possible reflections in all directions and complexity only depends on the screen's resolution (as all post-processes).
- cons: limited to what the camera sees.
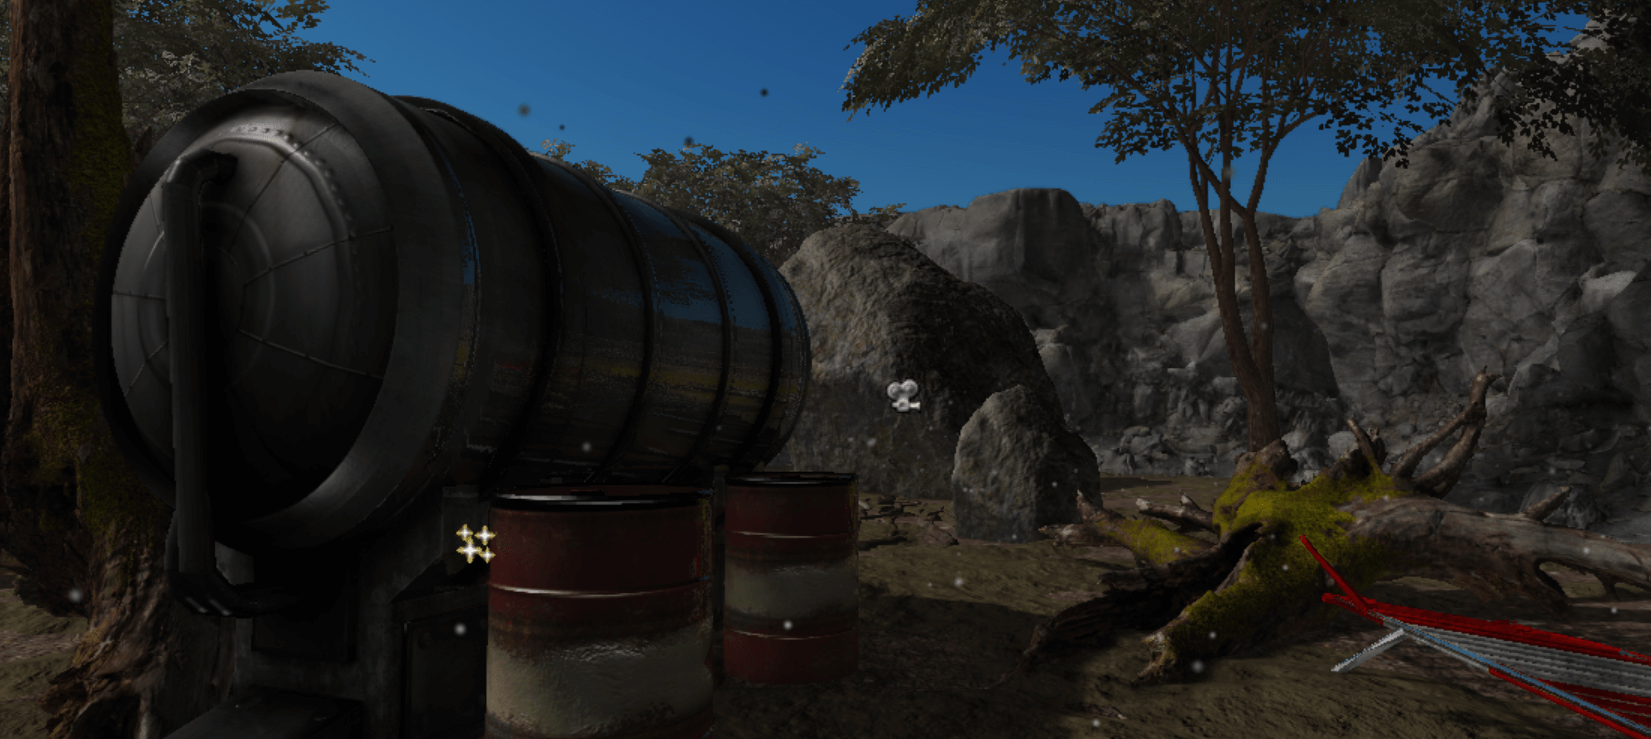
As an example, with SSR enabled (look at the water-tank):
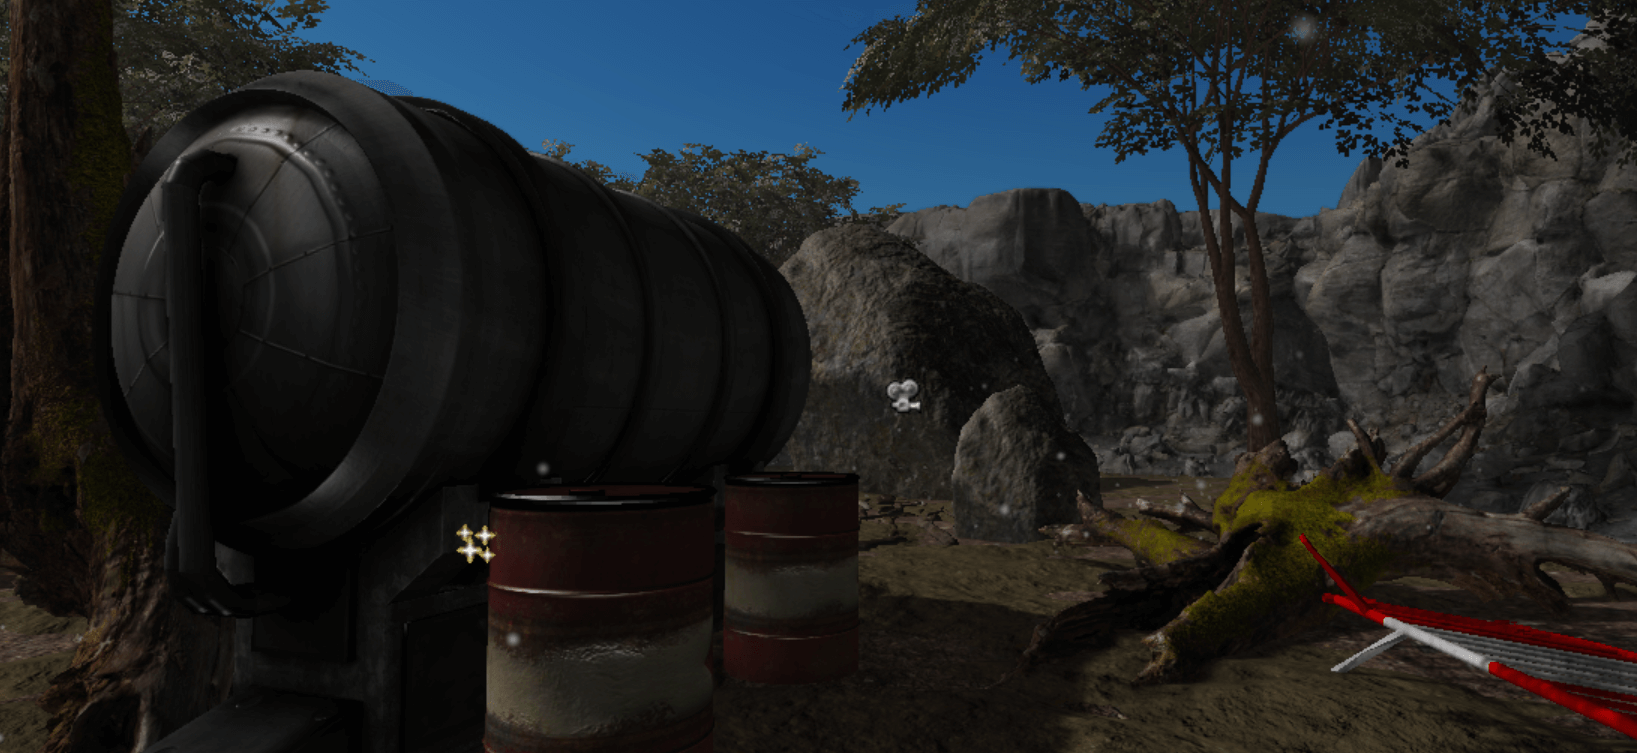
With SSR disabled:
You can find a simple example of the SSR post-process in our playground:
Prerequisite
To render reflections using the SSR post-process, the device must support WebGL 2 or at least the multiple render targets extension for WebGL 1. If not supported, the post-process will just work as a pass-through.
To any reflecting geometry in your scene, the post-process must know what are its "reflectivity" properties. To provide these informations, your reflecting meshes must contain for:
- a Standard Material: a specular texture. The specular texture will be used to know how much the object reflects for each pixel.
- a PBR Material: a reflectivity texture. The post-process doesn't still support the roughness/metallic properties for instance and will be available in future. That means the post-process takes the reflectivity texture as-is and doesn't compute any metallic/roughness workflow.
In other words, don't forget to assign a specular texture or a reflectivity texture to you material if you want the reflections enabled on it.
// For a BABYLON.StandardMaterialmyMaterial.specularTexture = new BABYLON.Texture("textures/specular.png", scene);
// For a BABYLON.PBRMaterialmyMaterial.reflectivityTexture = new BABYLON.Texture("textures/reflectivity.png", scene);
Note: the SSR post-process is a kind of greedy post-process. It is not intended to work smoothly on low-end devices and requires an enough powerful device.
Creating the SSR post-process
Just create an instance of BABYLON.ScreenSpaceReflectionPostProcess:
var ssr = new BABYLON.ScreenSpaceReflectionPostProcess("ssr", // The name of the post-processscene, // The scene where to add the post-process1.0, // The ratio of the post-processcamera // To camera to attach the post-process);
Customizing
Strength
The strength is applied on the overall specular/reflectivity informations in the scene and can be customized. The default value for the strength is 1.0 and should be used only if you are looking for a particular result (means that the result will not be realistic).
// Double specular/reflectivity strength.ssr.strength = 2;
Example playground: SSR Reflective Strength Example
Falloff Exponent
The falloff exponent is used to linearly reduce the reflection's intensities. The default value is "3.0" and works for most cases.
// Reduce more the reflection's intensitiesssr.reflectionSpecularFalloffExponent = 4;
Example playground with an almost equal to 0 exponent: SSR Falloff Example
Quality
The reflections quality can be customized to save performances and should be adjusted to each scene type.
The post-process is based on ray-tracing algorithms. That means more the post-process picks samples, more the result looks good.
The quality is defined as:
- Low: 25 samples.
- Medium: 50 samples.
- High: 100 samples.
According to the nature of the scene, the post-process quality can be not necessary perceptible between the medium and high qualities as the ray-tracing algorithm stops once it finds the reflection color. In other words, the high quality will be not be always needed.
- High quality playground: High Quality SSR Example
- Medium quality playground: Medium Quality SSR Example
- Low quality playground: Low Quality SSR Example