Simple Game State
Summary
Now that we have our state machine set up, it's time to build a simple scene with a player and ground out of primitives! At this point, we only have an app.ts to deal with setting up scenes, so we're going to need to make some new files and classes:
- environment.ts
- characterController.ts
I chose to work with only these files as I wanted to separate my code to focus on single aspects of the game. Feel free to make as many files as you need.
Environment
environment.ts will contain all information necessary for the game scene's world.
export class Environment {private _scene: Scene;constructor(scene: Scene) {this._scene = scene;}public async load() {var ground = Mesh.CreateBox("ground", 24, this._scene);ground.scaling = new Vector3(1,.02,1);}}
This is a stripped down version of the Environment class. Right now we're just focusing on creating a simple ground mesh. This starting structure is important as it makes importing our final assets much easier.
We'll want to create our environment in _setUpGame, so now it should look something like:
//--CREATE SCENE--let scene = new Scene(this._engine);this._gamescene = scene;//--CREATE ENVIRONMENT--const environment = new Environment(scene);this._environment = environment; //class variable for Appawait this._environment.load(); //environment
Before we go to the game state, we're creating our environment and loading the assets needed.
**Remember to include import statement for our Environment class. Imports from our files will look like this:
import { Environment } from "./environment";
Character Controller
characterController.ts is going to contain all of the logic relating to our player and the player's movements.
export class Player extends TransformNode {public camera;public scene: Scene;private _input;//Playerpublic mesh: Mesh; //outer collisionbox of playerconstructor(assets, scene: Scene, shadowGenerator: ShadowGenerator, input?) {super("player", scene);this.scene = scene;this._setupPlayerCamera();this.mesh = assets.mesh;this.mesh.parent = this;shadowGenerator.addShadowCaster(assets.mesh); //the player mesh will cast shadowsthis._input = input; //inputs we will get from inputController.ts}}
Now, we're going to replace the camera we had in state machine with the camera made in the _setupPlayerCamera function.
private _setupPlayerCamera() {var camera4 = new ArcRotateCamera("arc", -Math.PI/2, Math.PI/2, 40, new Vector3(0,3,0), this.scene);}
This is also just a simple stationary camera for now, but the setup is necessary for when we work on the camera system.
Notice how in our constructor, we are passing in assets. These assets should be imported AFTER the environment is loaded in _setUpGame (in case you have any dependencies between your player and meshes in the environment).
//..loaded environmentawait this._loadCharacterAssets(scene); //character
Loading Assets
In app.ts, we create _loadCharacterAssets. Inside of this function, we have the loadCharacter function, this is where we're setting up the character mesh system.
//collision meshconst outer = MeshBuilder.CreateBox("outer", { width: 2, depth: 1, height: 3 }, scene);outer.isVisible = false;outer.isPickable = false;outer.checkCollisions = true;//move origin of box collider to the bottom of the mesh (to match imported player mesh)outer.bakeTransformIntoVertices(Matrix.Translation(0, 1.5, 0));
Here we're creating the collider for the collision mesh of the character. Then, we're moving that origin point to the bottom of the mesh.
//for collisionsouter.ellipsoid = new Vector3(1, 1.5, 1);outer.ellipsoidOffset = new Vector3(0, 1.5, 0);outer.rotationQuaternion = new Quaternion(0, 1, 0, 0); // rotate the player mesh 180 since we want to see the back of the player
Then, we set up the capsule collider that will be used for collisions.
var box = MeshBuilder.CreateBox("Small1", { width: 0.5, depth: 0.5, height: 0.25, faceColors: [new Color4(0, 0, 0, 1), new Color4(0, 0, 0, 1), new Color4(0, 0, 0, 1), new Color4(0, 0, 0, 1), new Color4(0, 0, 0, 1), new Color4(0, 0, 0, 1)] }, scene);box.position.y = 1.5;box.position.z = 1;var body = Mesh.CreateCylinder("body", 3, 2, 2, 0, 0, scene);var bodymtl = new StandardMaterial("red", scene);bodymtl.diffuseColor = new Color3(0.8, 0.5, 0.5);body.material = bodymtl;body.isPickable = false;body.bakeTransformIntoVertices(Matrix.Translation(0, 1.5, 0)); // simulates the imported mesh's origin//parent the meshesbox.parent = body;body.parent = outer;
How I started off my character mesh was by creating a red cylinder for the body and a small black box to signify the front of the mesh.
return {mesh: outer as Mesh}
Then at the end, we return our character mesh.
At the end of _loadCharacterAssets,
return loadCharacter().then((assets) => {this.assets = assets;});
We can now pass these assets to the Player constructor.
You'll want this kind of structuring if you plan on importing a character mesh later on because it will ensure that all of the assets are loaded before moving on.
Initialize Game Async
The final steps of our player set up is to actually call the constructor in app.ts. _initializeGameAsync will do all of the finishing touches to prepare the game scene once everything is imported & meshes are created. At this point this function should only need to look like this:
private async _initializeGameAsync(scene): Promise<void> {//temporary light to light the entire scenevar light0 = new HemisphericLight("HemiLight", new Vector3(0, 1, 0), scene);const light = new PointLight("sparklight", new Vector3(0, 0, 0), scene);light.diffuse = new Color3(0.08627450980392157, 0.10980392156862745, 0.15294117647058825);light.intensity = 35;light.radius = 1;const shadowGenerator = new ShadowGenerator(1024, light);shadowGenerator.darkness = 0.4;//Create the playerthis._player = new Player(this.assets, scene, shadowGenerator); //dont have inputs yet so we dont need to pass it in}
We'll need at least one light to see our meshes, and that light for my game was the player's light. The shadow generator uses a single light source, but you can have multiple shadow generators. And then, we finally create our player.
You'll notice that I've also created a temporary Hemispheric light. This is just so that we can see everything in the scene while we set things up (this isn't in the actual game).
We want to call this in goToGame where we were previously setting up our light and sphere. Then, we want to set the position of the character.
//primitive character and settingawait this._initializeGameAsync(scene);//--WHEN SCENE FINISHED LOADING--await scene.whenReadyAsync();scene.getMeshByName("outer").position = new Vector3(0, 3, 0);
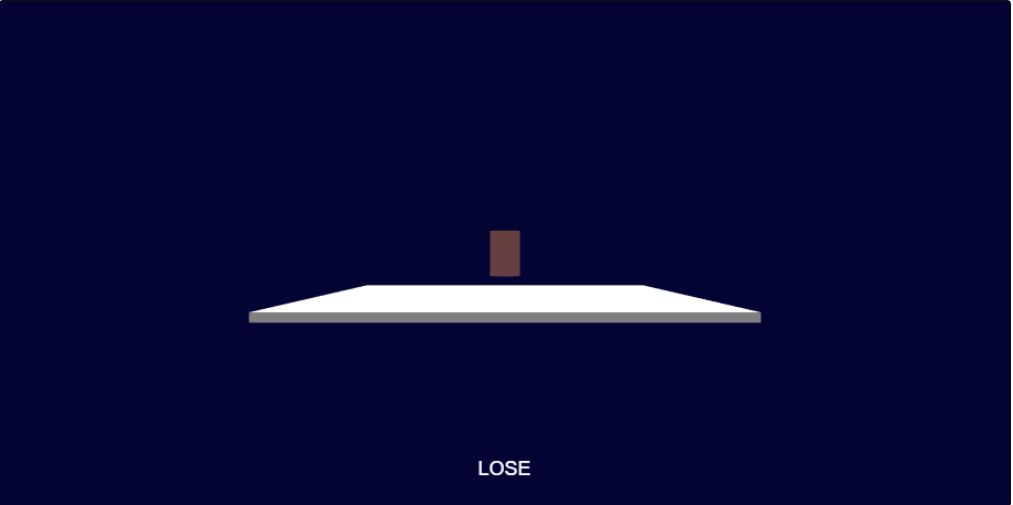
Now you when you go to the game state, you'll have a player mesh and a ground!
Resources
Files Used:
Follow Along: