Debug Scenes Remotely Using the Reflector
This feature is a work in progress.
Using the Reflector
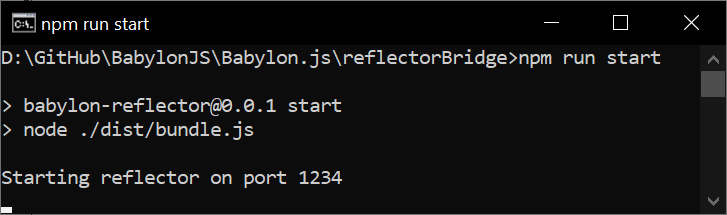
Step 1 - Start the reflector bridge
Clone the Babylon.js repo and launch the reflector bridge from the command line.
The default port is 1234. Specify a different port by adding --port=<port> to the command line.
Step 2 - Start the reflector debugging session
Open https://sandbox.babylonjs.com/?reflector=true.
The default hostname and port are localhost and 1234. Specify a different hostname or port by adding &hostname=<hostname>&port=<port> to the url. The hostname and port must match the host and port that is running the reflector bridge.

Step 3 - Connect to the reflector debugging session from the client
The reflector is supported in scenarios that run Babylon.js with WebSocket support (e.g. a web page running Babylon.js in a browser or a Babylon React Native application). To enable the connection, a reflector instance must be created. Here is an example of the JavaScript:
const reflector = new BABYLON.Reflector(scene, "localhost", 1234);// ...reflector.close();
The inspector UI in the Tools pane has this code built in. For example, loading a glTF model in the sandbox on an Android device connected to a desktop via USB connection with port forwarding enabled, the inspector can be used to connect to the remote debugging session.

After transferring the scene, the reflector debugging session will reflect the scene from the device:

Happy remote debugging the scene!
Known Issues
- Some states are not correctly reflected across the remote connection.
- Large scenes may exceed the limits of how much can be transferred via web sockets.
- The web scokets are currently not secure which can cause issues with https connections.