The Texture Inspector
Using the Texture Inspector
The Texture Inspector is designed to enable you to debug your textures inside of Babylon. Users often load in textures and find that they do not appear as expected. Unexpected results can be related to transparency, UVs, or unique texture types such as cubemaps. The Texture Inspector allows you to investigate issues and even fix them in-engine.
How to Access
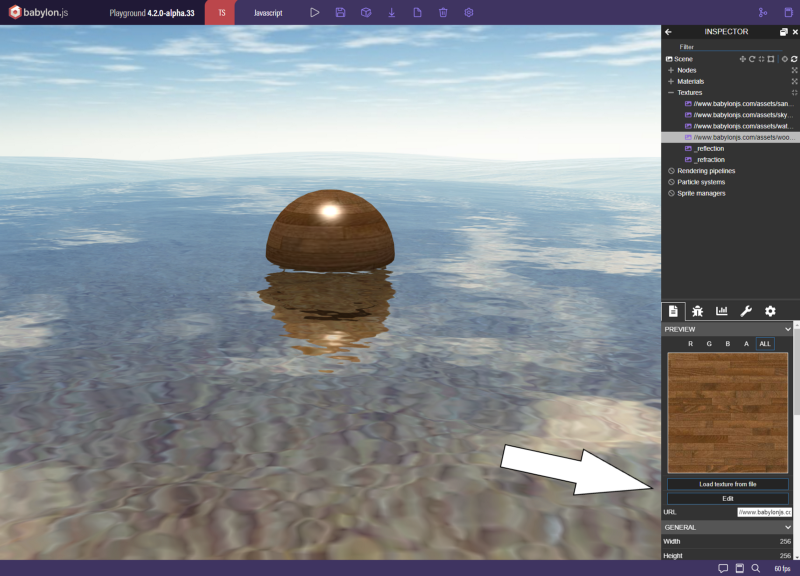
The Texture Inspector can be accessed from the main inspector panel. Simply select a texture from the list, and click the "edit" button underneath the texture preview.
Properties

Dimensions
The width and height of the texture are shown in pixels. Editing these values and then clicking the dashed rectangle will resize the texture.
Pixel Inspection
These values show the coordinates and RGBA values of the pixel under the cursor.
MIP Levels
Adjust the MIP level you are viewing. Some textures do not have mipmaps. Clicking the down button will take you to lower levels of detail.
Reset, Upload, Download
The reset button restores the texture to its original state before it was opened in the inspector. The upload button allows you to upload a local file (.png, .jpeg, .dds, and .env are currently supported.) The download button will save the texture to your local machine using the name displayed in the bottom left.
Faces (Cubemaps only)
When inspecting a cubemap, you can click through the 6 buttons to view the faces of the cubemap.
Tools

Rectangle Select
Selects a region of the texture. When you have a reigon selected, edits will only be applied to that region. Press Escape to clear the selection.
Paintbrush
Paints the active color onto the texture. The size slider controls the width of the brush. The paintbrush will always apply the exact active RGBA value, rather than blending with what's currently on the canvas.
Eyedropper
Sets the active color to the RGBA value of clicked pixels.
Floodfill
Floods the entire texture or selected region with the active color and alpha.
Active Color
Displays the active color and alpha, which are used by other tools. Clicking opens a panel which allows precise manipulation of the RGBA values.
Channels
This pane is used to control the RGBA channels. Clicking the eye icons on the left will hide individual channels, allowing you to narrow your focus to particular channels. Clicking the letter on the right will lock a channel, meaning that any edits you perform will not affect that channel.

Shortcuts
- Mousewheel and the +/- buttons allow you to zoom in and out
- The middle mouse button allows you to pan across the texture
- Control+A selects the entire texture
- Escape deselects everything
- Control+S saves the texture to your local machine
- Control+R resets the texture to it’s original state